
How to reuse old plates: the original idea
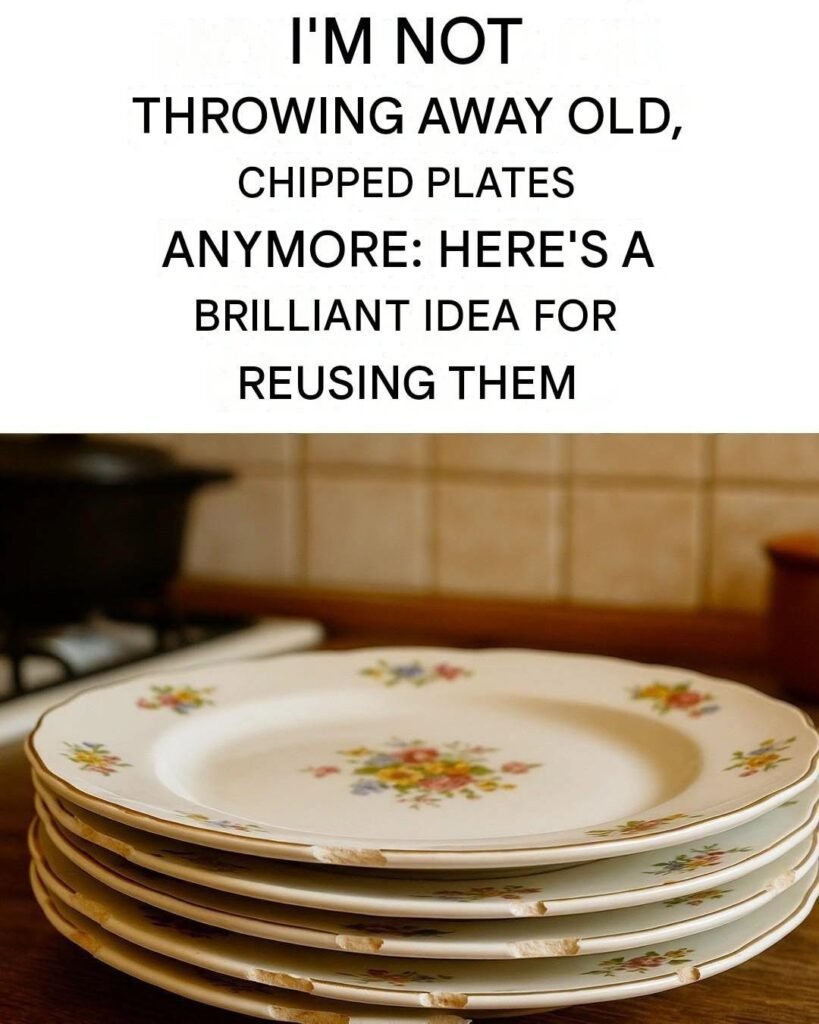
Reusing old, mismatched, or slightly chipped ceramic and porcelain plates is one of the easiest ways to create functional home decor, garden art, and serving pieces without spending money on new materials. Instead of letting spare dishes sit unused in cabinets or end up in landfills, you can transform them into durable indoor and outdoor accents using simple household adhesives and basic hardware.
1. Tiered Dessert and Afternoon Tea Stand
Turning two or three mismatched plates of graduating sizes into a vintage tiered serving stand is the classic, most practical way to repurpose old dinnerware.
-
Materials Needed: 2 or 3 plates (such as a dinner plate on the bottom, a salad plate in the middle, and a saucer on top), heavy-duty two-part epoxy glue or E6000 adhesive, and sturdy spacers such as vintage candlesticks, small glass tumblers, shot glasses, or metal tiered-tray hardware kits.
-
How to Assemble:
-
Clean the center of each plate thoroughly with rubbing alcohol so the adhesive bonds permanently.
-
Apply a generous ring of epoxy to the top rim of your bottom candlestick or glass spacer and press it firmly onto the exact center of the largest plate.
-
Apply adhesive to the base of the spacer and center the medium plate directly on top. Repeat with a second spacer and the smallest saucer if making a three-tier stand.
-
Place a heavy book on top to apply even pressure and allow the adhesive to cure undisturbed for at least 24 to 48 hours before lifting by the center column.
-
-
Best Uses: Serving cupcakes, cookies, fruit, or organizing perfumes, jewelry, and skincare bottles on a bathroom vanity.
2. Vintage Garden Flower Stakes (Upcycled Yard Art)
Old colorful floral plates and patterned saucers look like blooming ceramic flowers when mounted upright in flower beds, vegetable gardens, or large potted plants.
-
Materials Needed: Mismatched decorative plates and small saucers (stacking a small saucer inside a larger plate creates a 3D layered flower look), waterproof outdoor construction adhesive or silicone sealant, and copper pipes, threaded metal rods, or sturdy wooden dowels.
-
How to Assemble:
-
If layering two plates, glue the back of a small patterned saucer into the center of a larger plate using waterproof exterior adhesive and let it cure flat overnight.
-
Attach a flat-headed metal flange, a large galvanized washer, or a U-shaped copper pipe bracket to the back of the plate using heavy-duty outdoor epoxy.
-
Once cured, slide or screw the metal rod or copper pipe into the bracket, push the stake firmly into the garden soil, and angle the plate slightly upward toward the sun.
-
3. Decorative Plate Gallery Wall
Instead of hanging framed prints, a curated cluster of vintage, hand-painted, or patterned plates adds three-dimensional texture and color to dining rooms, kitchen walls, or hallways.
-
How to Hang Safely:
-
Invisible Adhesive Disc Hangers: Fabric discs with pre-attached metal rings (such as Flatirons or Disc Plate Hangers) glue directly to the back of the plate with water-activated adhesive. They lie completely flat against the wall with no visible wires wrapping around the front rim.
-
Spring-Loaded Wire Hangers: Coated brass or vinyl-tipped wire hangers hook around the outer edges of the plate. Choose vinyl-coated tips so the metal does not scratch delicate porcelain rims.
-
-
Arrangement Tip: Trace your plates onto kraft paper, cut out the circles, and tape the paper circles to the wall first to test spacing and balance before hammering any nails.
4. Broken Plate Mosaic Stepping Stones and Planters
Even plates that are cracked or broken in half can be turned into weather-resistant garden mosaics.
-
Materials Needed: Broken ceramic plates, an old towel and hammer (or tile nippers), quick-setting concrete mix or outdoor thin-set mortar, a shallow plastic plant saucer or cake pan (as a mold), and sanded grout.
-
How to Make a Stepping Stone:
-
Wrap broken plates inside an old towel and tap gently with a hammer to break them into irregular 1- to 2-inch mosaic tiles (wear safety glasses).
-
Coat the inside of a plastic mold with cooking spray or petroleum jelly for easy release.
-
Pour mixed concrete into the mold to about 1.5 inches thick and tap the sides to release air bubbles.
-
While the concrete is still wet and pliable, press the ceramic plate pieces face-up into the surface in a radial flower pattern or abstract mosaic, keeping the tops flush with the concrete.
-
Let the stone cure for 48 hours, pop it out of the mold, and wipe the ceramic faces clean with a damp sponge.
-
5. Custom Chalkboard or Dry-Erase Kitchen Memo Board
Large solid-colored dinner plates or oval serving platters can be converted into erasable message boards for grocery lists, daily menus, or entryway reminders.
-
How to Make It:
-
Tape off the decorative outer rim of the plate using painter’s tape so the pattern stays visible.
-
Apply two thin coats of brush-on chalkboard paint to the flat center of the plate, allowing 2 hours of drying time between coats.
-
Peel off the tape carefully while the second coat is slightly tacky for crisp lines.
-
Cure the paint for 24 hours, then “season” the surface by rubbing the side of a piece of chalk across the entire painted center and wiping it off with a dry cloth before writing your first note.
-
6. Under-Plant Drip Trays and Birdbaths
-
Indoor Plant Saucers: Deep soup plates, bowls, and rimmed dinner plates make far prettier and sturdier water catchers under indoor terracotta pots than flimsy clear plastic trays. Add three small felt pads underneath the plate to protect wooden furniture from condensation.
-
Pedestal Birdbath: Glue a wide, shallow ceramic serving platter or large pasta bowl onto the top of an upturned terracotta flower pot or sturdy concrete garden column using waterproof silicone sealant. Fill with fresh water and place a few flat river stones inside so birds and bees can perch safely while drinking.
Safety Tips for Repurposing Old Plates
-
Check for Lead Before Food Use: Antique plates made before the 1970s—especially those with bright red, orange, or yellow glazes—may contain lead or cadmium. Use older vintage plates for wall decor, jewelry trays, or garden art rather than serving hot or acidic foods.
-
Handle Chipped Edges Smoothly: If a plate has a rough chip along the rim, lightly sand the sharp edge with fine-grit wet/dry sandpaper (400-grit) under running water to make it smooth and safe to handle.